What You'll Learn
Icinga2 Director is a module that is designed to make Icinga2 web configuration easier and faster. It helps less advanced users to add, monitor and delete hosts and services through a web interface which involves a simple point and click.
Icinga2 Director can also be a perfect tool to use when a user doesn't have root access to the master server. With Icinga2 Director, you have the advantage of importing and syncing objects.
However, the Icinga2 Director requires advanced users to install it. That's you !
Therefore, in this codelab you will learn
- how to install Icinga2 Director
Good luck!
Where You Can Look Up
The best source of documentation is the homepage of Icinga2. The latest documentation can be found here.
What You'll need
Guest operation system (Guest OS)
This is the OS of the virtual machine. This will be Debian .
Administators privileges
By default, administrator privileges are required on the Host OS to install additional software. Make sure that you have the required permissions.
For the Guest OS, you will create and manage your own users. These users will therefore be different from the Host's user administration.
Root privileges via sudo
In this codelab you have to work with root privileges. Therefore, a few words of caution: double check whatever you type and make backups whenever necessary.
Working with root privileges is quite easy. Open a terminal (a shell) and enter the following commmand:
sudo -s
Enter the password of the icinga user and voila:
root@server:/home/icinga#
Once you are root via sudo, it is no longer necessary to prepend the sudo command. Instead of sudo ls -lisa /root/ you can also type ls -lisa /root/ because you have root privileges already. However, all commands in this codelab will always start with sudo to remind you that you are working with root privileges.
Description
Run the following commands to update your system package repositories.
sudo apt update
sudo apt upgrade
Depending on the package upgrades, it is useful to restart the system here.
Core Module
Now that Icinga 2 repos are available, you can install the corresponding module by executing the command below:
sudo apt install icingaweb2-module-director
API User
It is necessary to create an API user with full privileges for Icinga2 Director. This allows the director to control the entire Icinga2 instance.
First, edit the file api-users.conf with an editor of your choice (here: nano).
sudo nano /etc/icinga2/conf.d/api-users.conf
Next, add the following content at the end of the file (without deleting other existing ApiUser objects):
object ApiUser "director" {
  password = "director"
  permissions = [ "*" ]
}
Quit the configuration file with CTRL-X and confirm with y to save all changes.
Last, transfer the ownership.
sudo chown nagios:nagios /etc/icinga2/conf.d/
Database configuration
Sorry but true: you have to create another database and a db_user for Icinga2 Director.
First, log in to MariaDB shell with the following command:
sudo mysql -u root -p
Provide your root password (or simple press enter) and create a database and user for Icinga2 Director with the following commands:
CREATE DATABASE director CHARACTER SET 'utf8';
CREATE USER director@localhost IDENTIFIED BY 'director';
GRANT ALL ON director.* TO director@localhost;
Run the following command to get a list of databases installed.
show databases;
Sample output:
+--------------------+
| Database           |
+--------------------+
| director           |
| icinga2            |
| icingaweb2         |
| information_schema |
| mysql              |
| performance_schema |
| sys                |
+--------------------+
Next, check if the newly created user exists:
select user from mysql.user;
Sample output:
+-------------+
| User        |
+-------------+
| director    |
| icinga2     |
| icingaweb2  |
| mariadb.sys |
| mysql       |
| root        |
+-------------+
Everything okay? Good. Now reload privileges tables with the following commands:
flush privileges;
quit
Mangement configuration
Icinga Director needs a relational database (such as MySQL, MariaDB or PostgreSQL). Therefore, we need to tell Icingaweb2 how to connect to the Director's database.
First, open and edit the resources.ini file with an editor of your choise (here: nano):
sudo nano /etc/icingaweb2/resources.ini
Next, add the following content at the end of the file:
[icinga_director]
type = "db"
db = "mysql"
host = "localhost"
dbname = "director"
username = "director"
password = "director"
charset = "utf8"
Quit the configuration file with CTRL-X and confirm with y to save all changes.
Restart Icinga2
On Debian, Icinga2 is started and enabled upon installation. However, after installing and configuring Icinga2 Director it is necessary to restart the Icinga2 service again and to check its status.
sudo systemctl restart icinga2
sudo systemctl status icinga2
Any problems? Try to fix them with appropriate tools.
Icinga Web2 Login
Time to see the Director in action.
Open the browser and point to the URL of the Icinga2 Web Inferface:
http://<ip-address-of-icinga>/icingaweb2
Enter the username and password from the previous codelabs.
Icinga2 Director
The first thing you will notice are ... problems. Ignore them. Here, as shown in the screenshot below, one of the virtual machines is offline because it was turned off while installing the Icinga Director due to performance reasons.
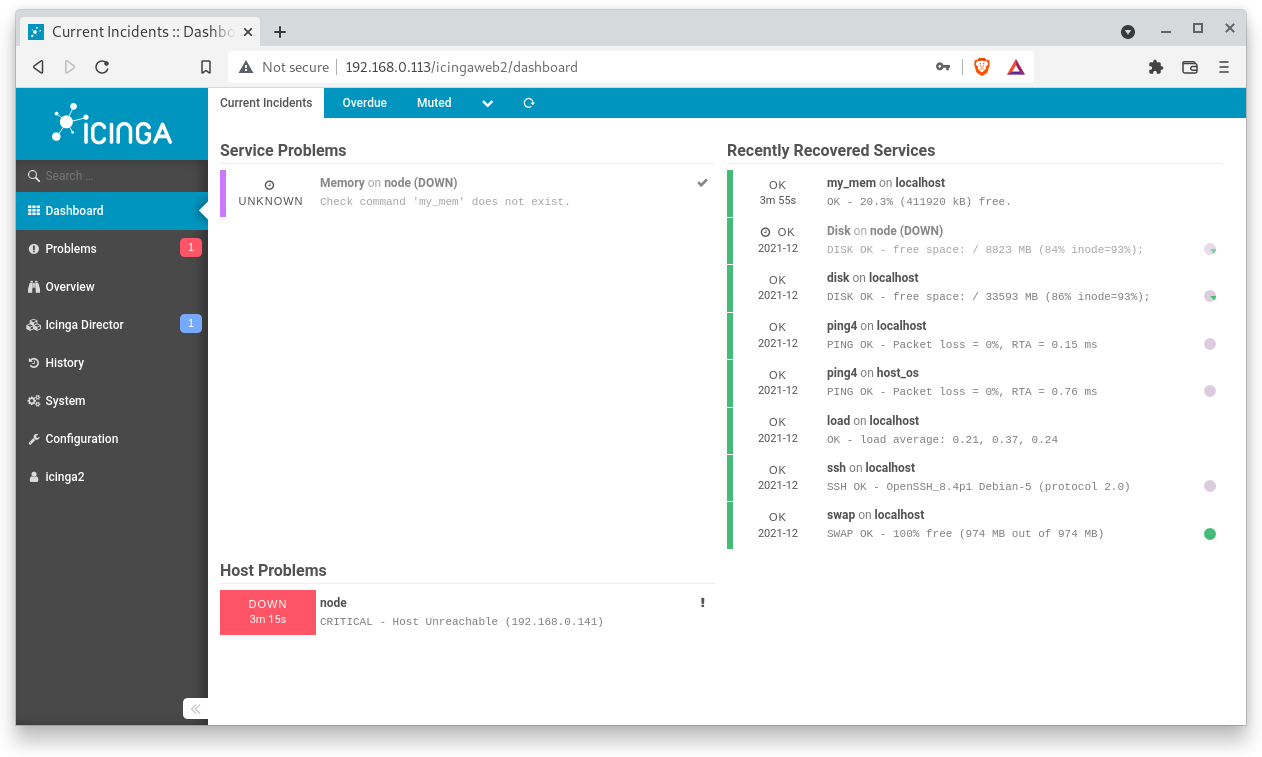
The second thing you will notice is a new menu item called Icinga Director. Click on it and the director will guide you through the setup procedure.
Next, the Director ask you for a database resource. 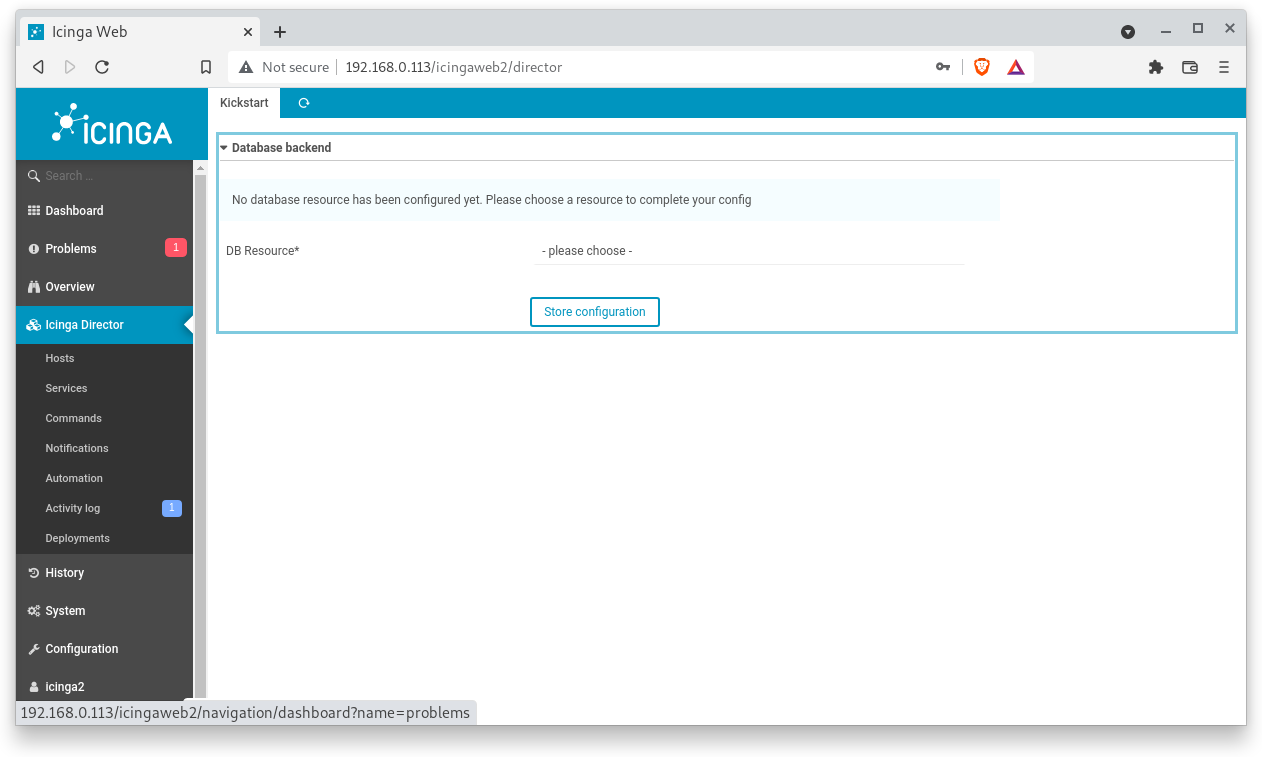
Where,
DB Resource- icinga_director
Next, the Director ask you to create a scheme.
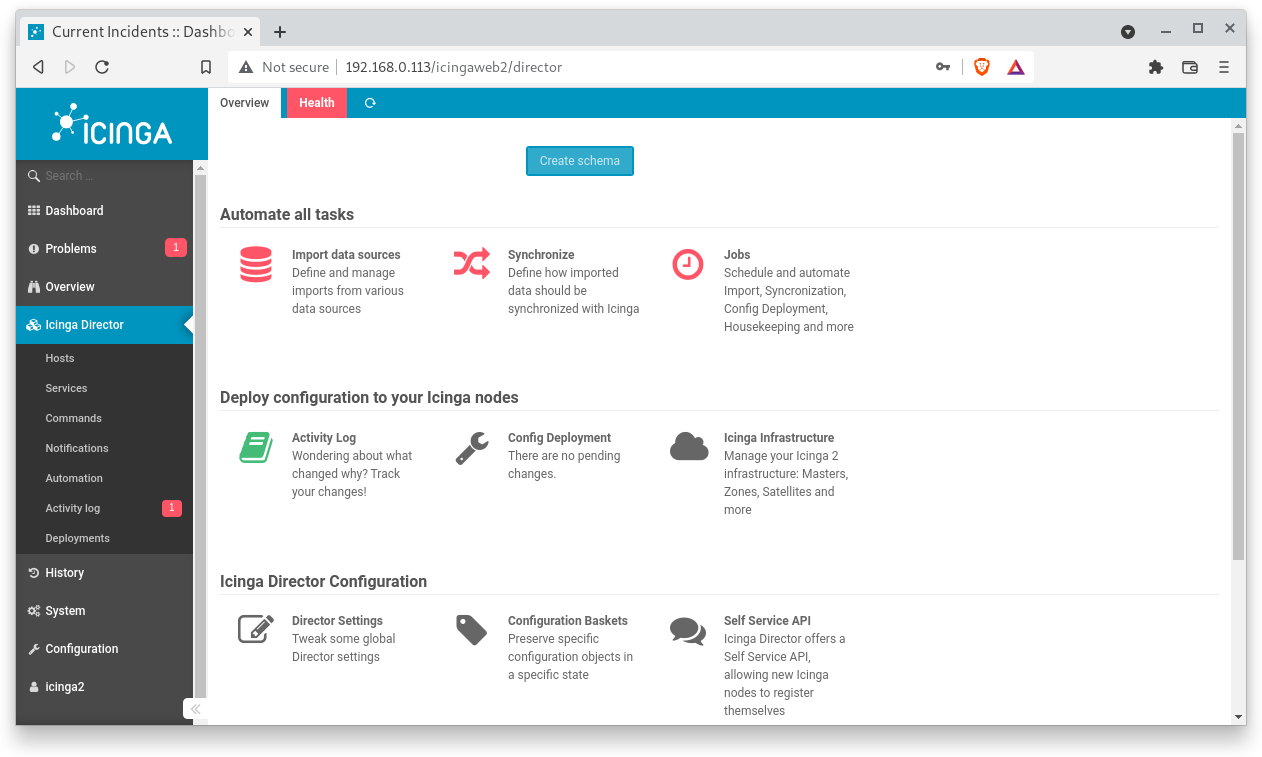
Click on the Create Scheme button.
Next, the director wants you to run the Kickstart wizard. In simple terms: the director imports (=kickstarts, populates, seeds) data into the database we have created previously.
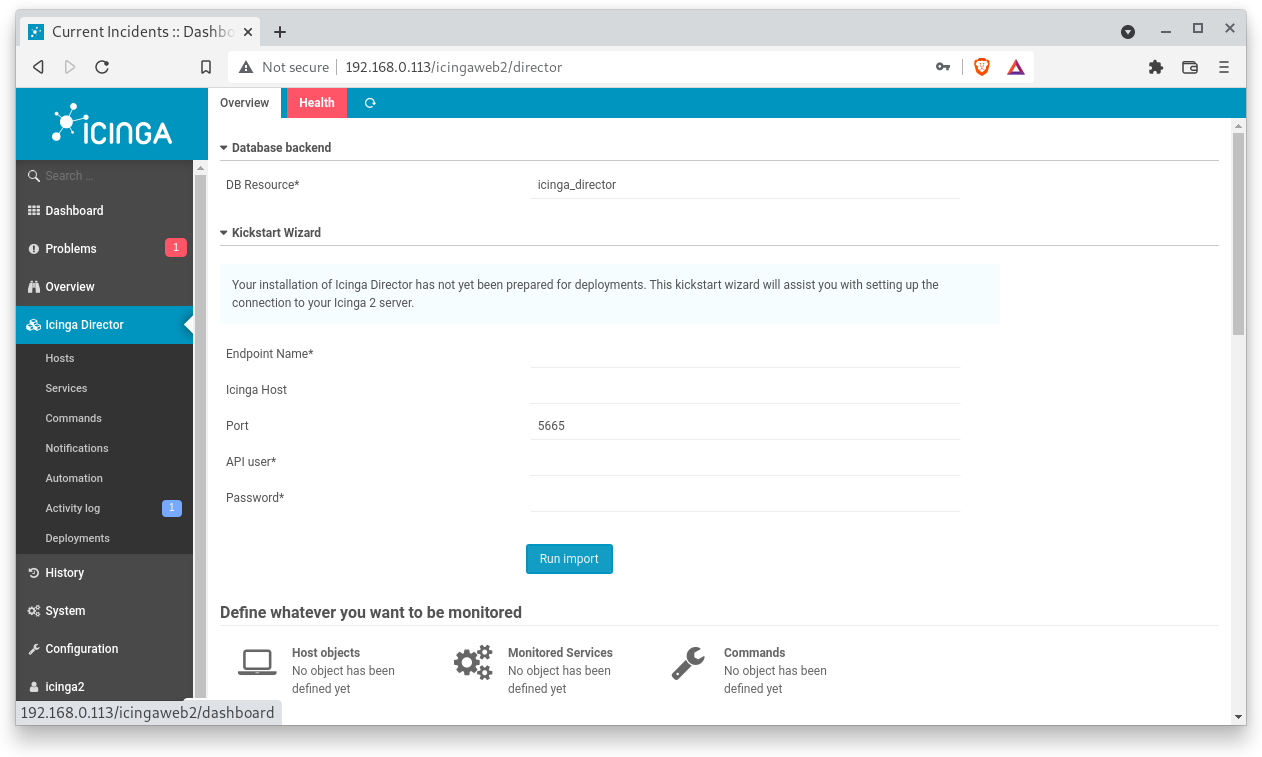
Where,
DB Resource- icinga_directorEndpoint name- ipm-serverIcinga Host- your-server-ip-address (or FQDN)Port- 5665 (don't change it)API-User- directorPassword- director
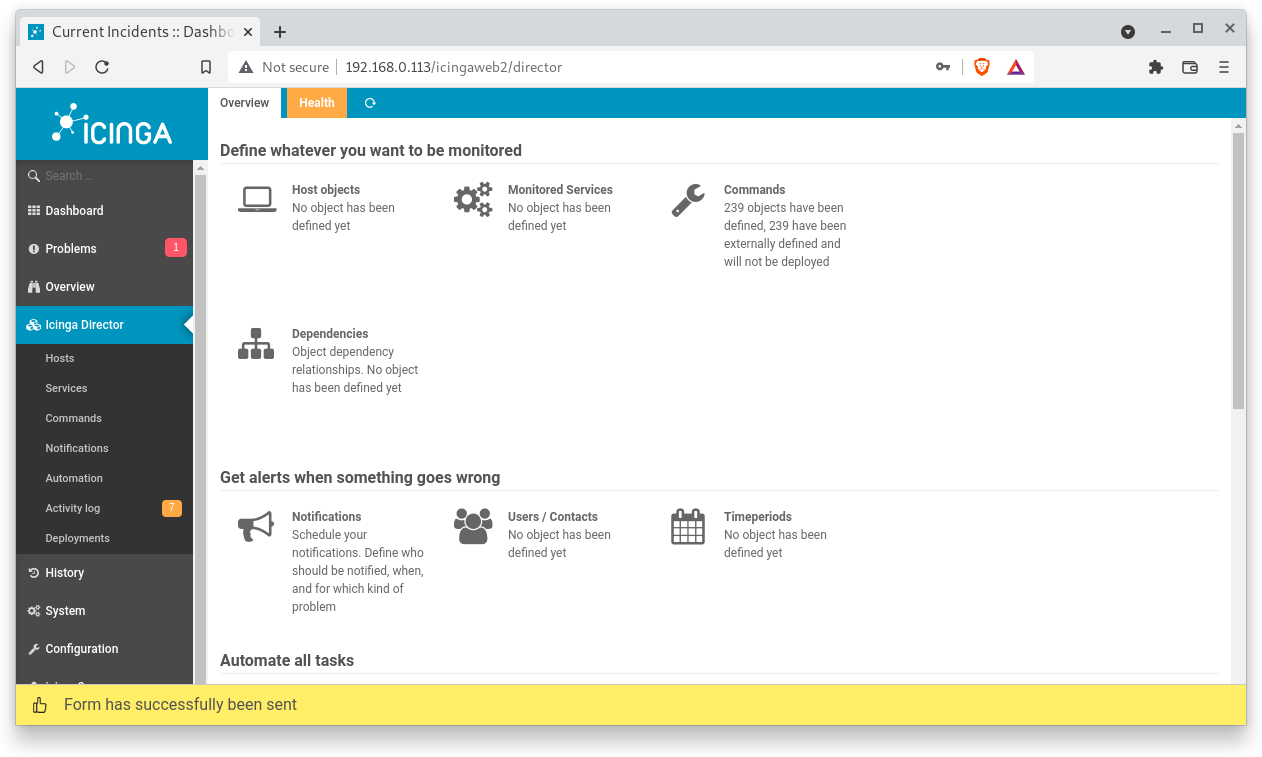
Double-check your inputs. Click on the Run Import button to populate the database.
After populating the database, the Icinga2 Director is ready to configure hosts and services.
But let's check the log first.
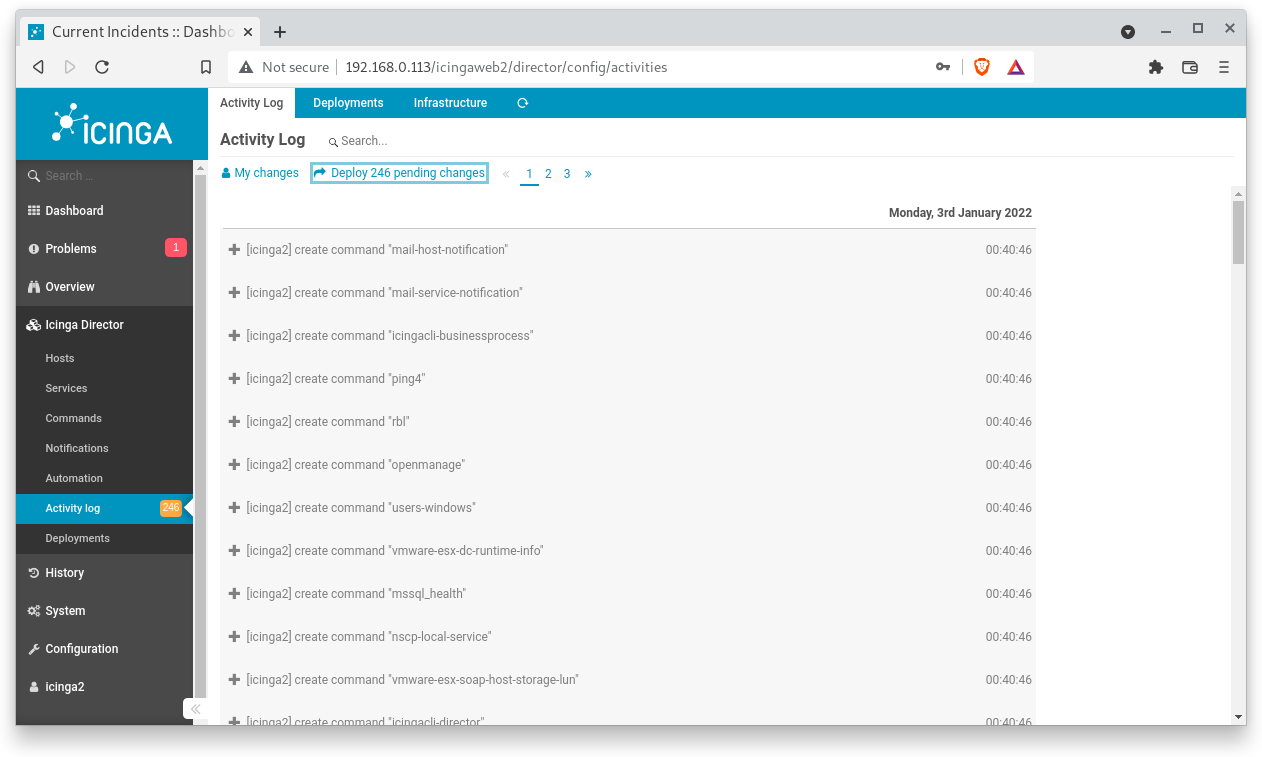
Activity Log
Director provides a nice activity log. Click on the "Activity log" menu to see a list of all past activities (around 200 or more).
Select one line of the activity history. A brief overview of the selected command is displayed in the right-hand window.
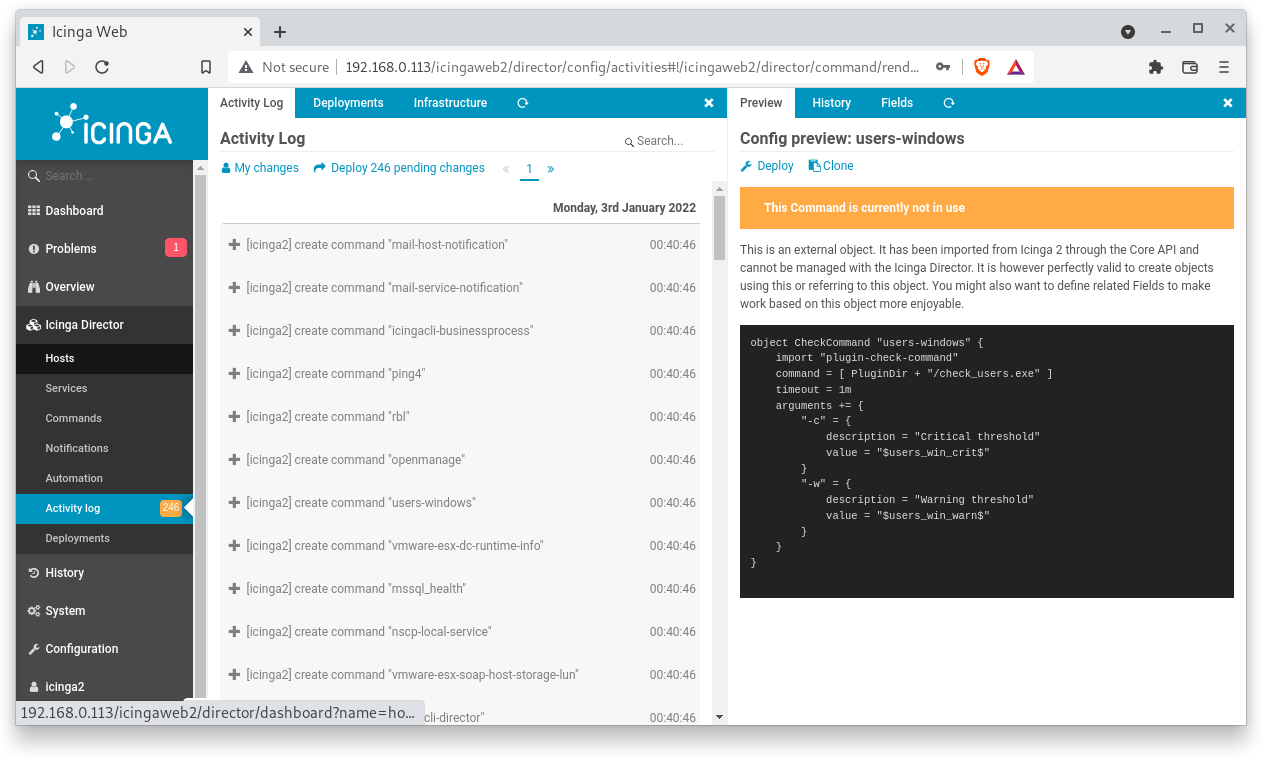
Did you notice the magnifier? You can search for logs. Try to find our custom check my_mem.
You can now try to setup your own monitoring solution with the Director.
That means that you have to set up your Monitoring solution by yourself.
Here are some good practices:
- First, set up templates for Hosts and Services. Use the existing templates but with different names.
- Second, set up a specific host, and use
hostaliveas default check_command. - Finally, set up a simple service such as ping4 and assign it as a regular check_command to your host.
Congratulations !
You have successfully set up Icinga2 Director.